ExeOutput for PHP stores all application settings in a project file (extension: .exop). You can open and save project files at any time using the Load and Save buttons in the toolbar. But first, let’s create a new project.
To begin, select Start a New Project at startup or click New in the toolbar. This will open the New Application Wizard:

The wizard will guide you through the initial project setup.
Step 1: Select the Source Folder #
The source folder should contain all of your website’s files: PHP scripts, HTML pages, images, CSS, JavaScript, etc. ExeOutput for PHP treats this folder as the application’s root directory. All files within this folder and its subdirectories are automatically added to the project. You can add or remove files later using the File Manager.
Directory Structure is Preserved
Your website’s directory structure is preserved within the application. The source folder becomes the application’s root, and relative paths between your files will continue to work just as they do on a web server. Think of the compiled application as a self-contained web server.
Step 2: Choose the Index Page #
The index page is the first page users see when they launch your application; it acts as the home page. The wizard lists all files from your source folder, allowing you to select the desired index page. You can select a file within a subfolder.
Click Continue to proceed.
Step 3: Select the Application Type #
ExeOutput for PHP can create two types of applications:
Graphical User Interface (GUI): A standard windowed application. You will need to select a default theme for your GUI, which you can change later.
![GUI application with a ribbon]()
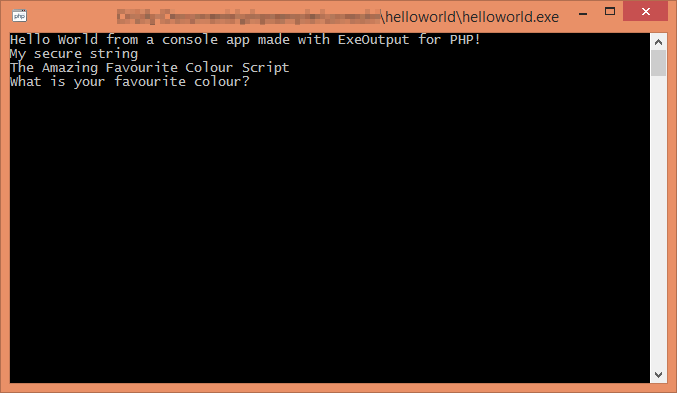
Command-Line Interface (CLI): A console application that runs without a graphical interface. When launched, it operates within the standard Windows console and executes the PHP script you selected as the index page.
![CLI app]()
Step 4: Define Output Settings #
This is the final step:
- Application Path: Specify the full path for the output
.exefile, including the filename. It is strongly recommended to save the.exefile in a directory separate from your source folder. - Application Title: Enter the title for your application. This will appear in window title bars, dialog boxes, and the Windows taskbar.
Warning
If your title contains a double-quote ("), you must escape it by doubling it ("") to prevent script compilation errors.
Click Finish to create the project. ExeOutput for PHP will then create the project file, configure default settings, and import all of your source files. This process may take a few moments, depending on the number of files.
Project Created
Once complete, you will be taken to the Main Window settings. Your project is now ready to be configured further or compiled immediately.


